
❗build.gradle에 swagger 설정 추가
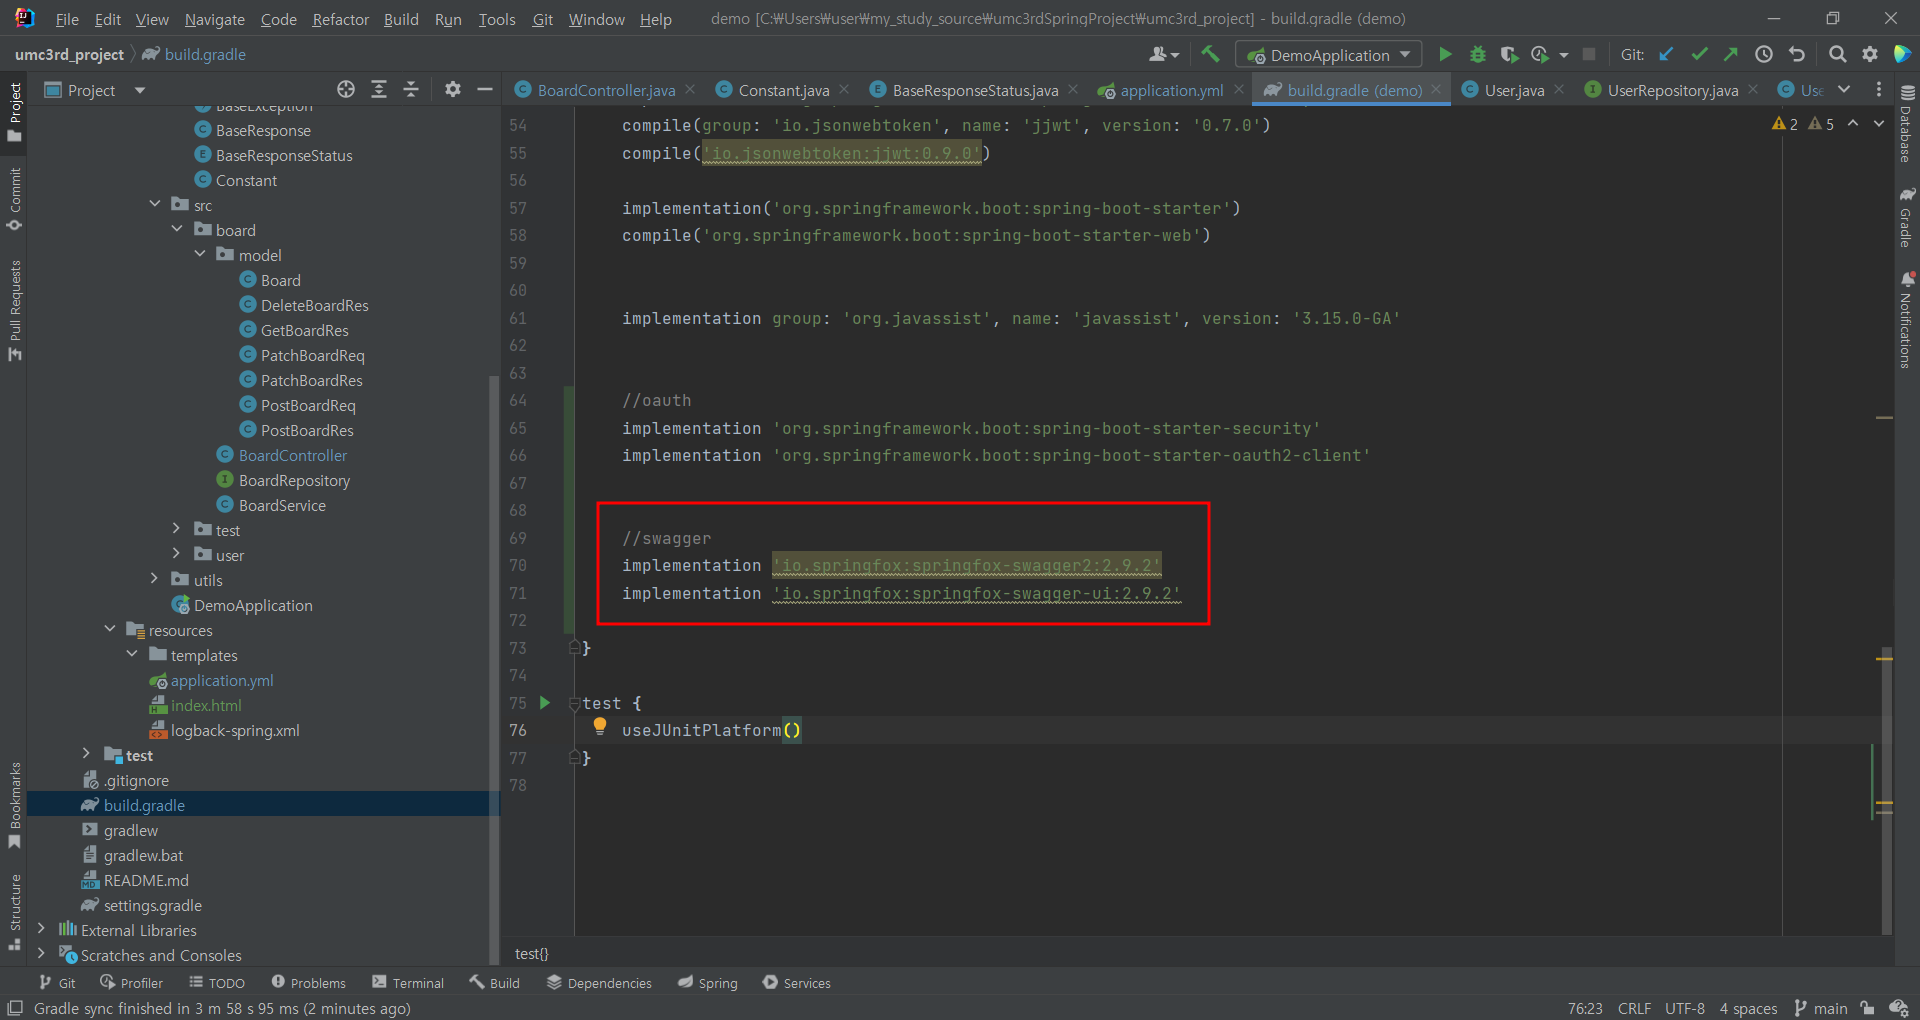
implementation 'io.springfox:springfox-swagger2:2.9.2'
implementation 'io.springfox:springfox-swagger-ui:2.9.2'
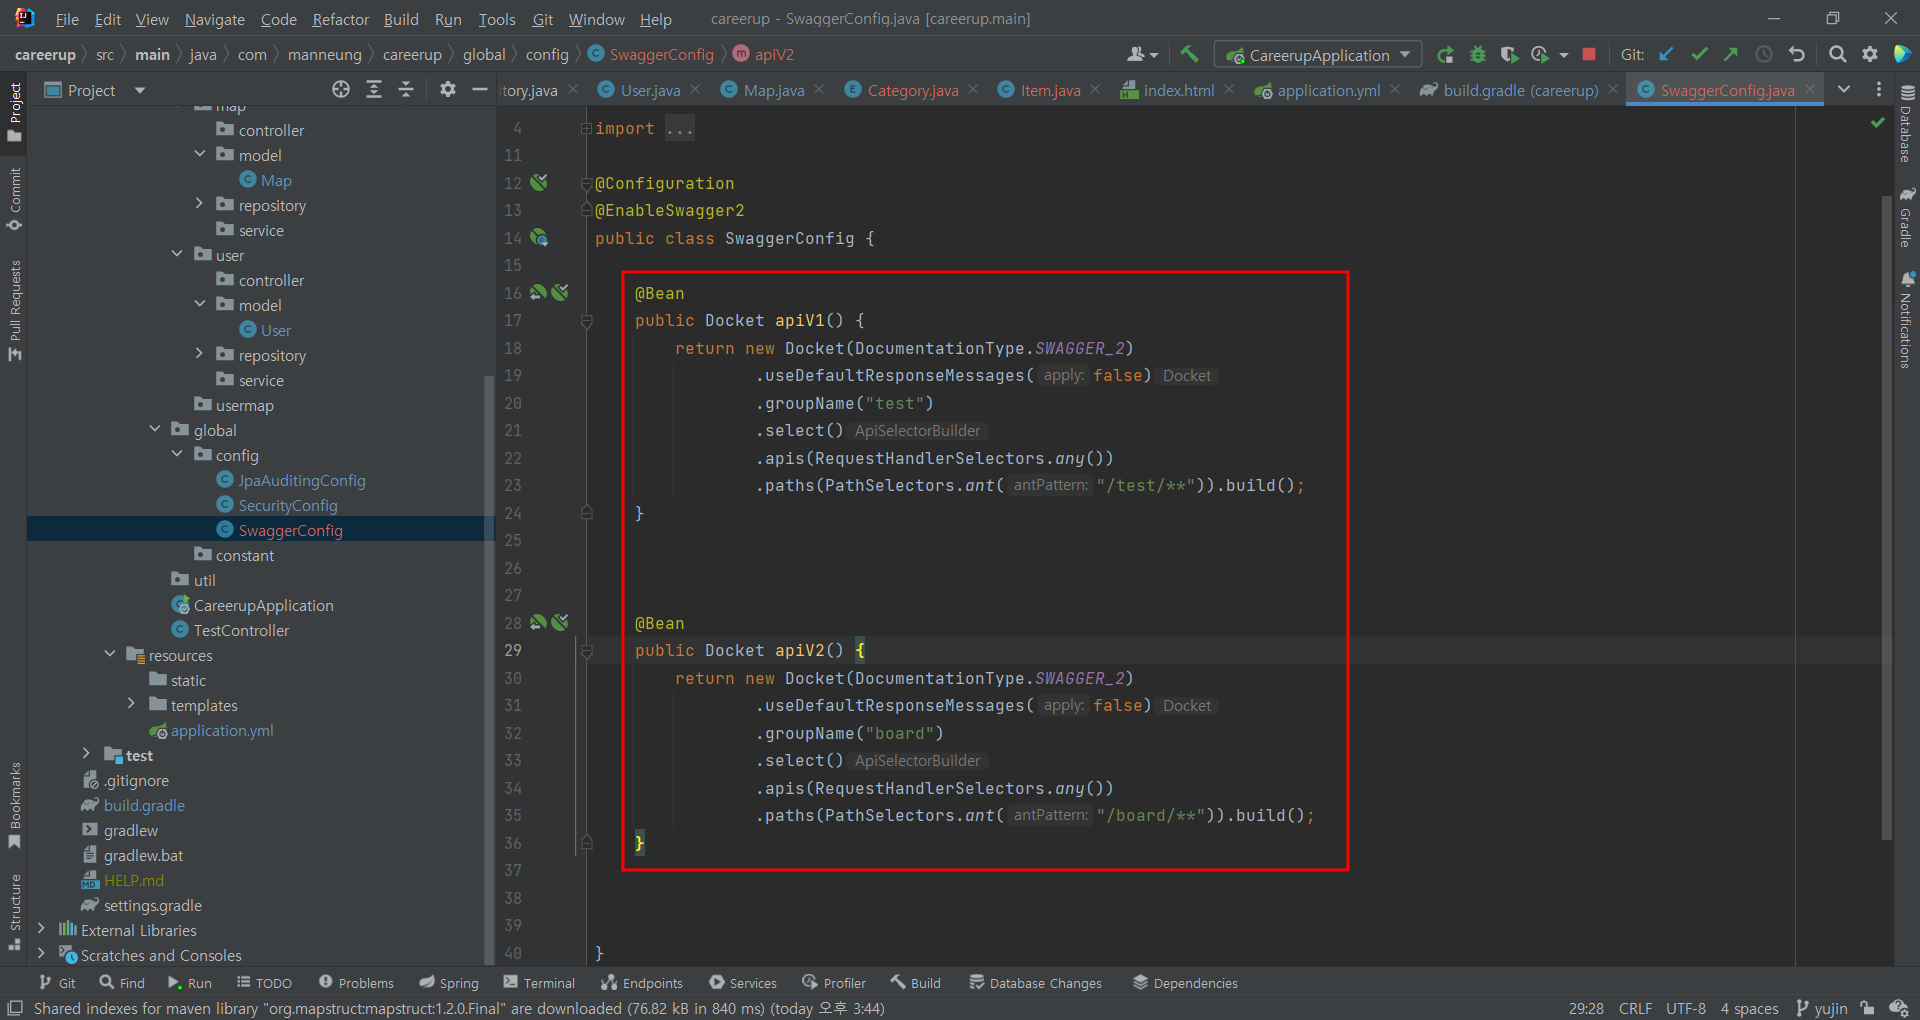
❗SwaggerConfig 작성
SwaggerConfig라는 설정클래스를 만들고 아래처럼 적어주면 된다
@Configuration
@EnableSwagger2
public class SwaggerConfig {

    @Bean
    public Docket apiV1() {
        return new Docket(DocumentationType.SWAGGER_2)
                .useDefaultResponseMessages(false)
                .groupName("[그룹이름]")
                .select()
                .apis(RequestHandlerSelectors.any())
                .paths(PathSelectors.ant("/[requestMapping한 주소]/**")).build();
    }

}
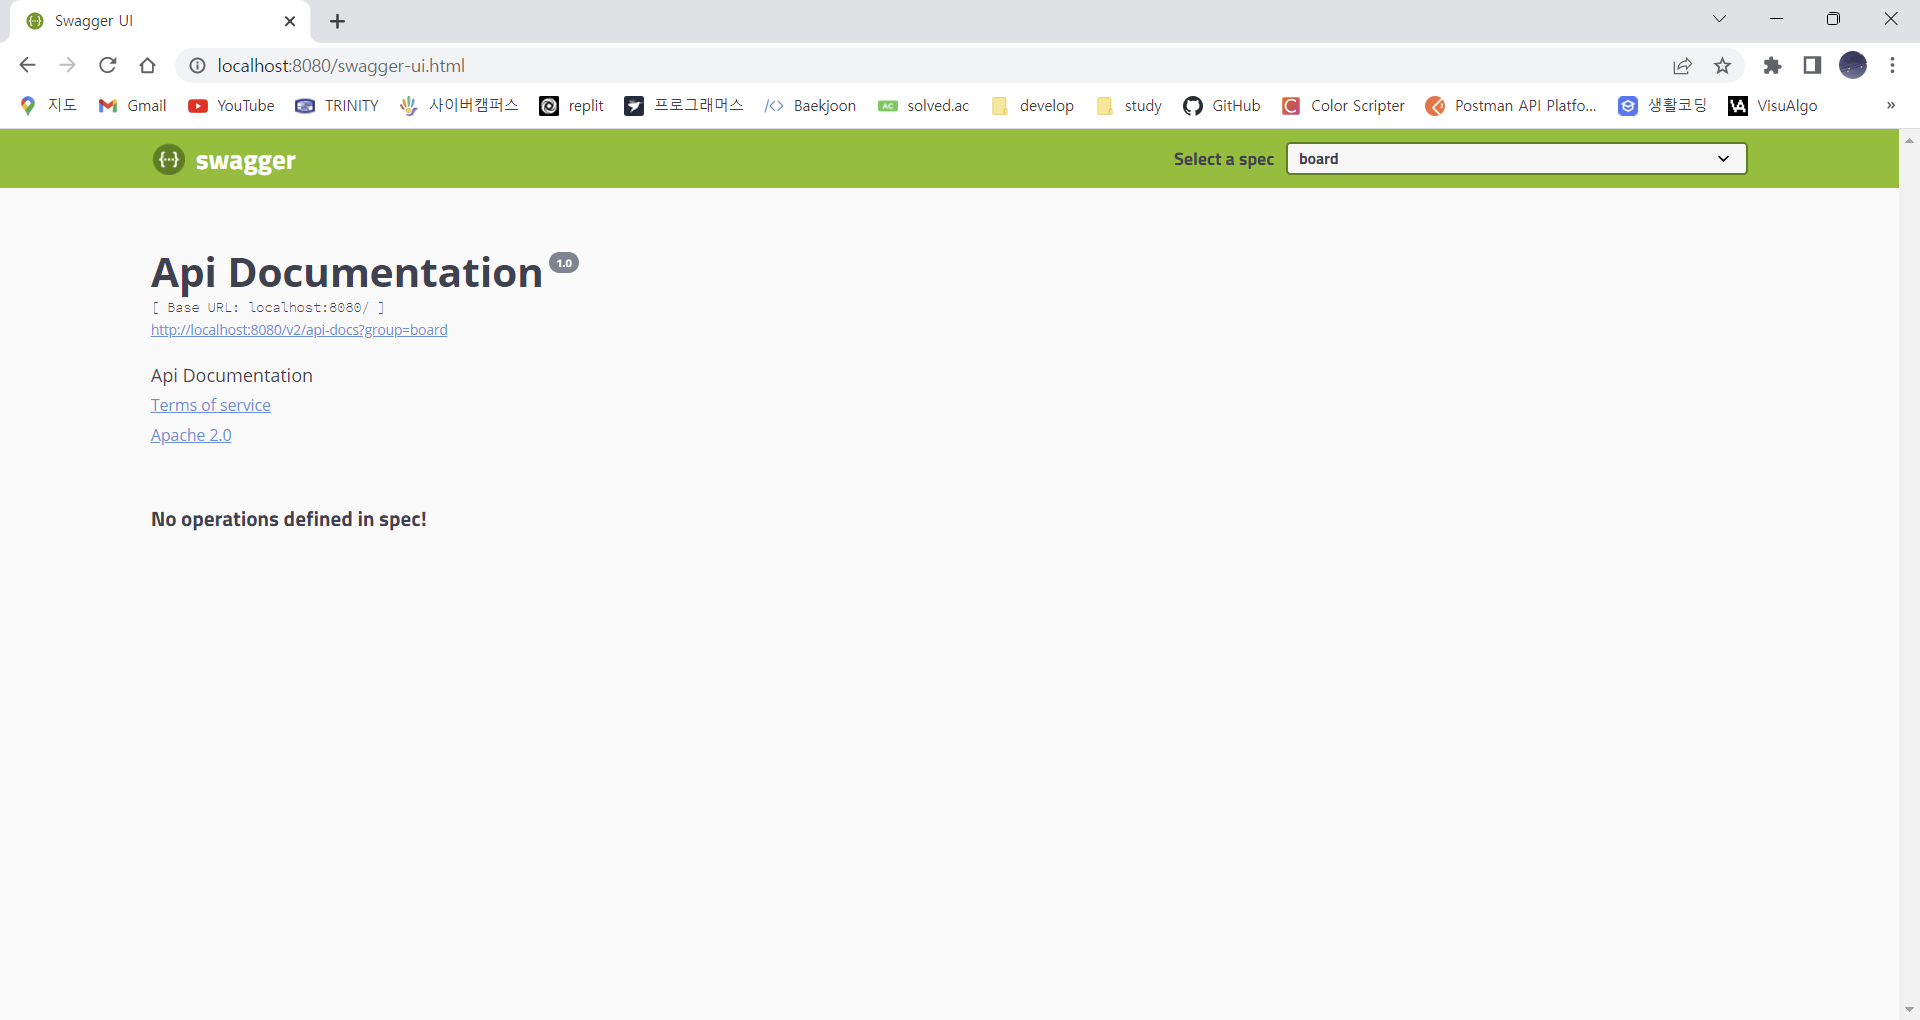
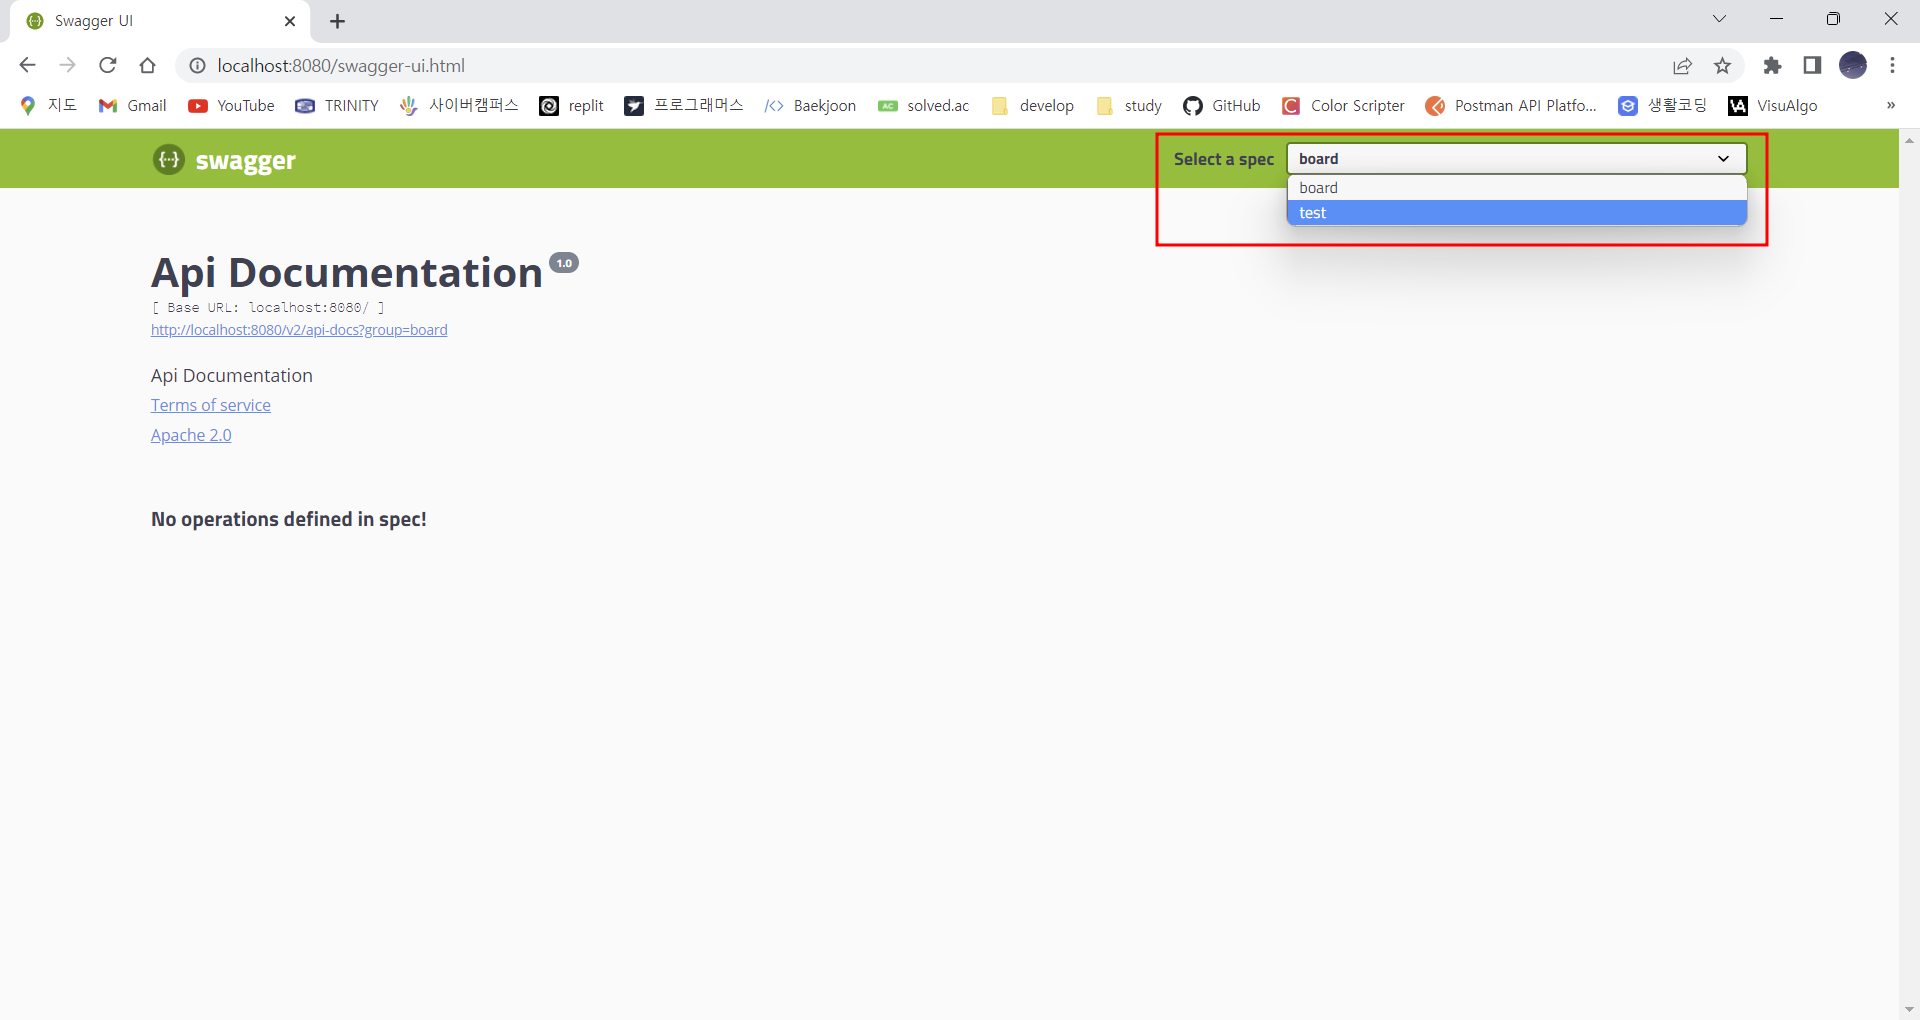
❗서버 실행
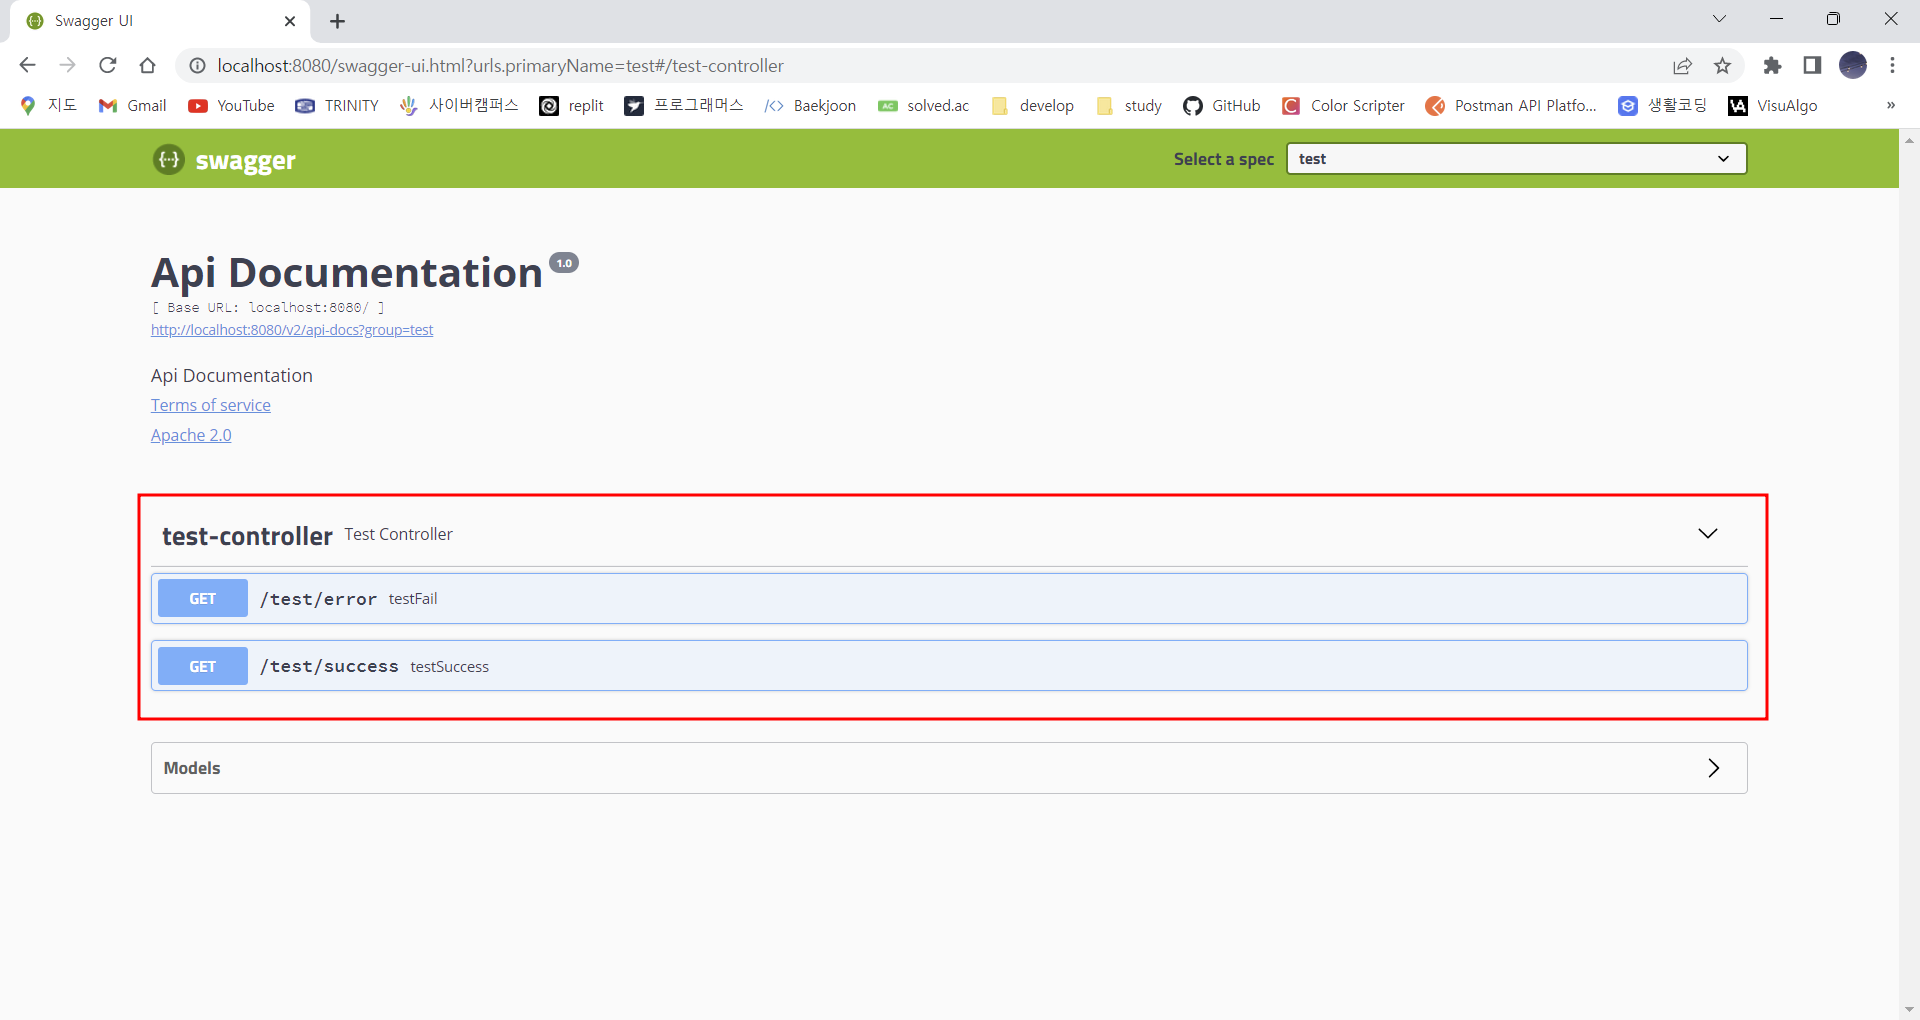
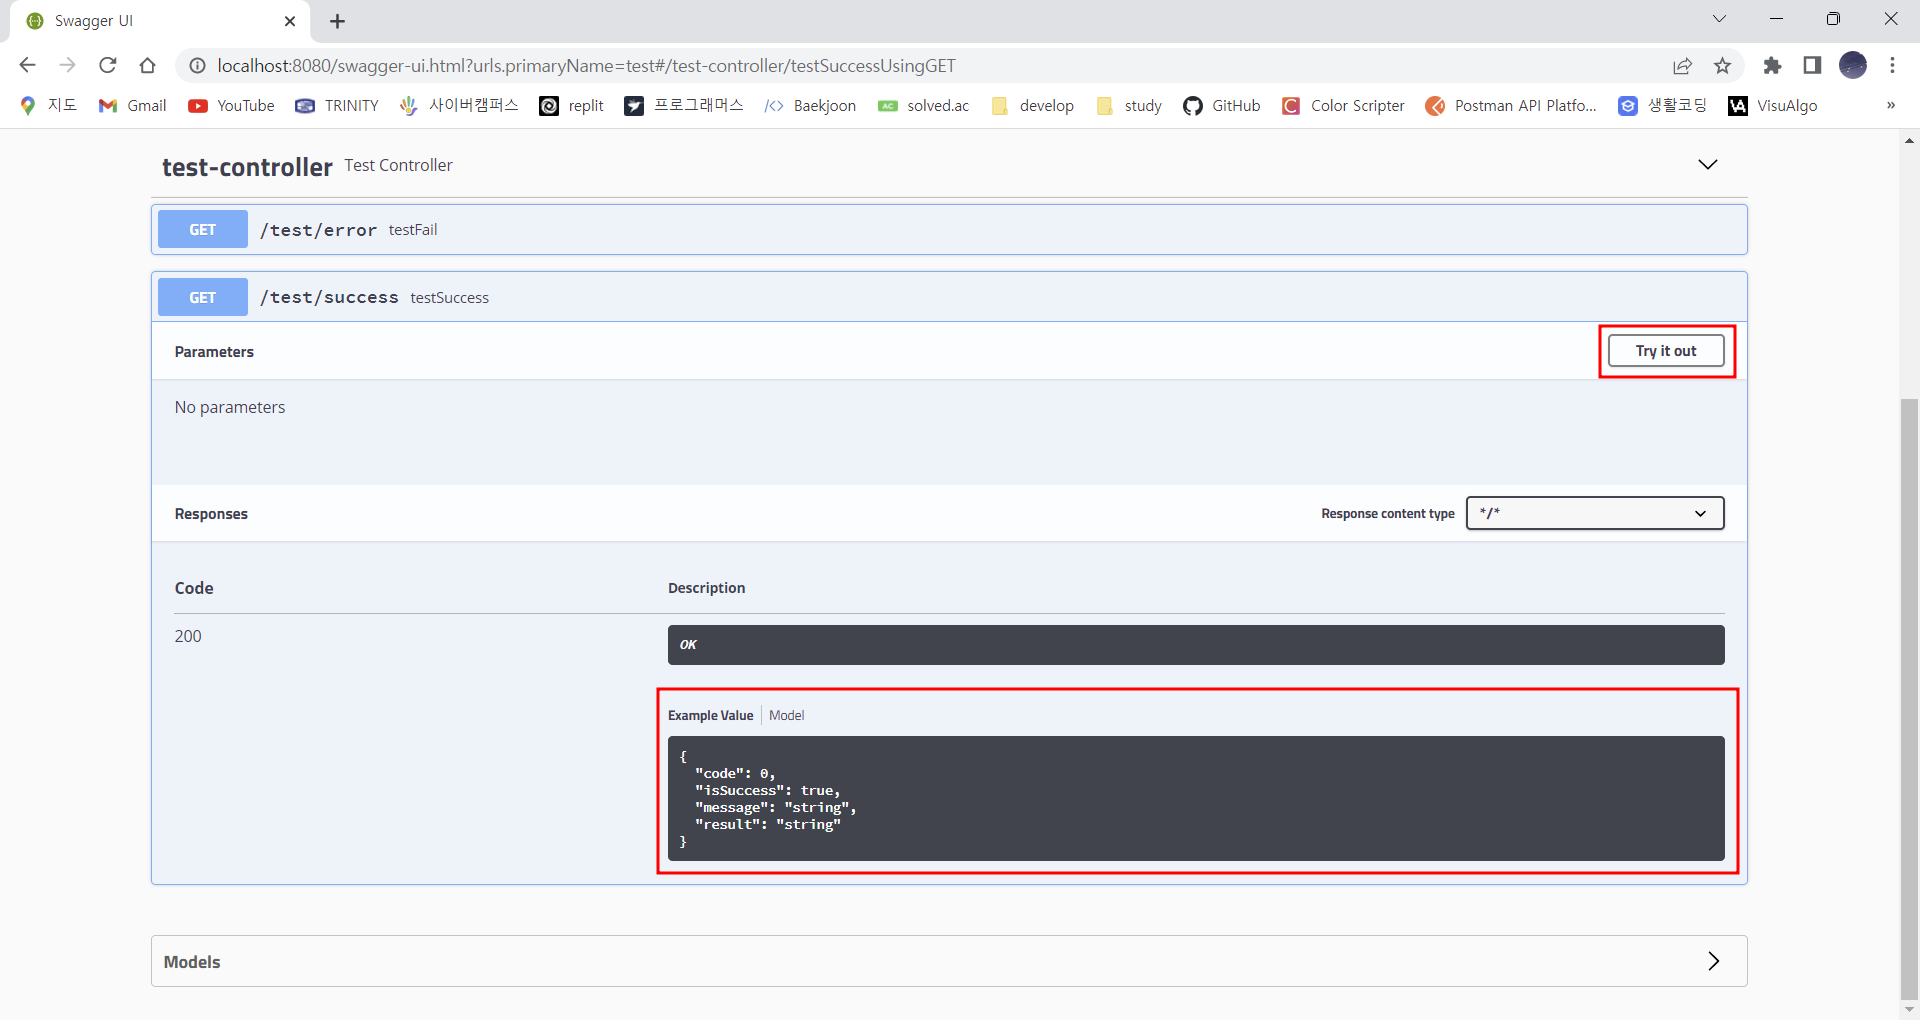
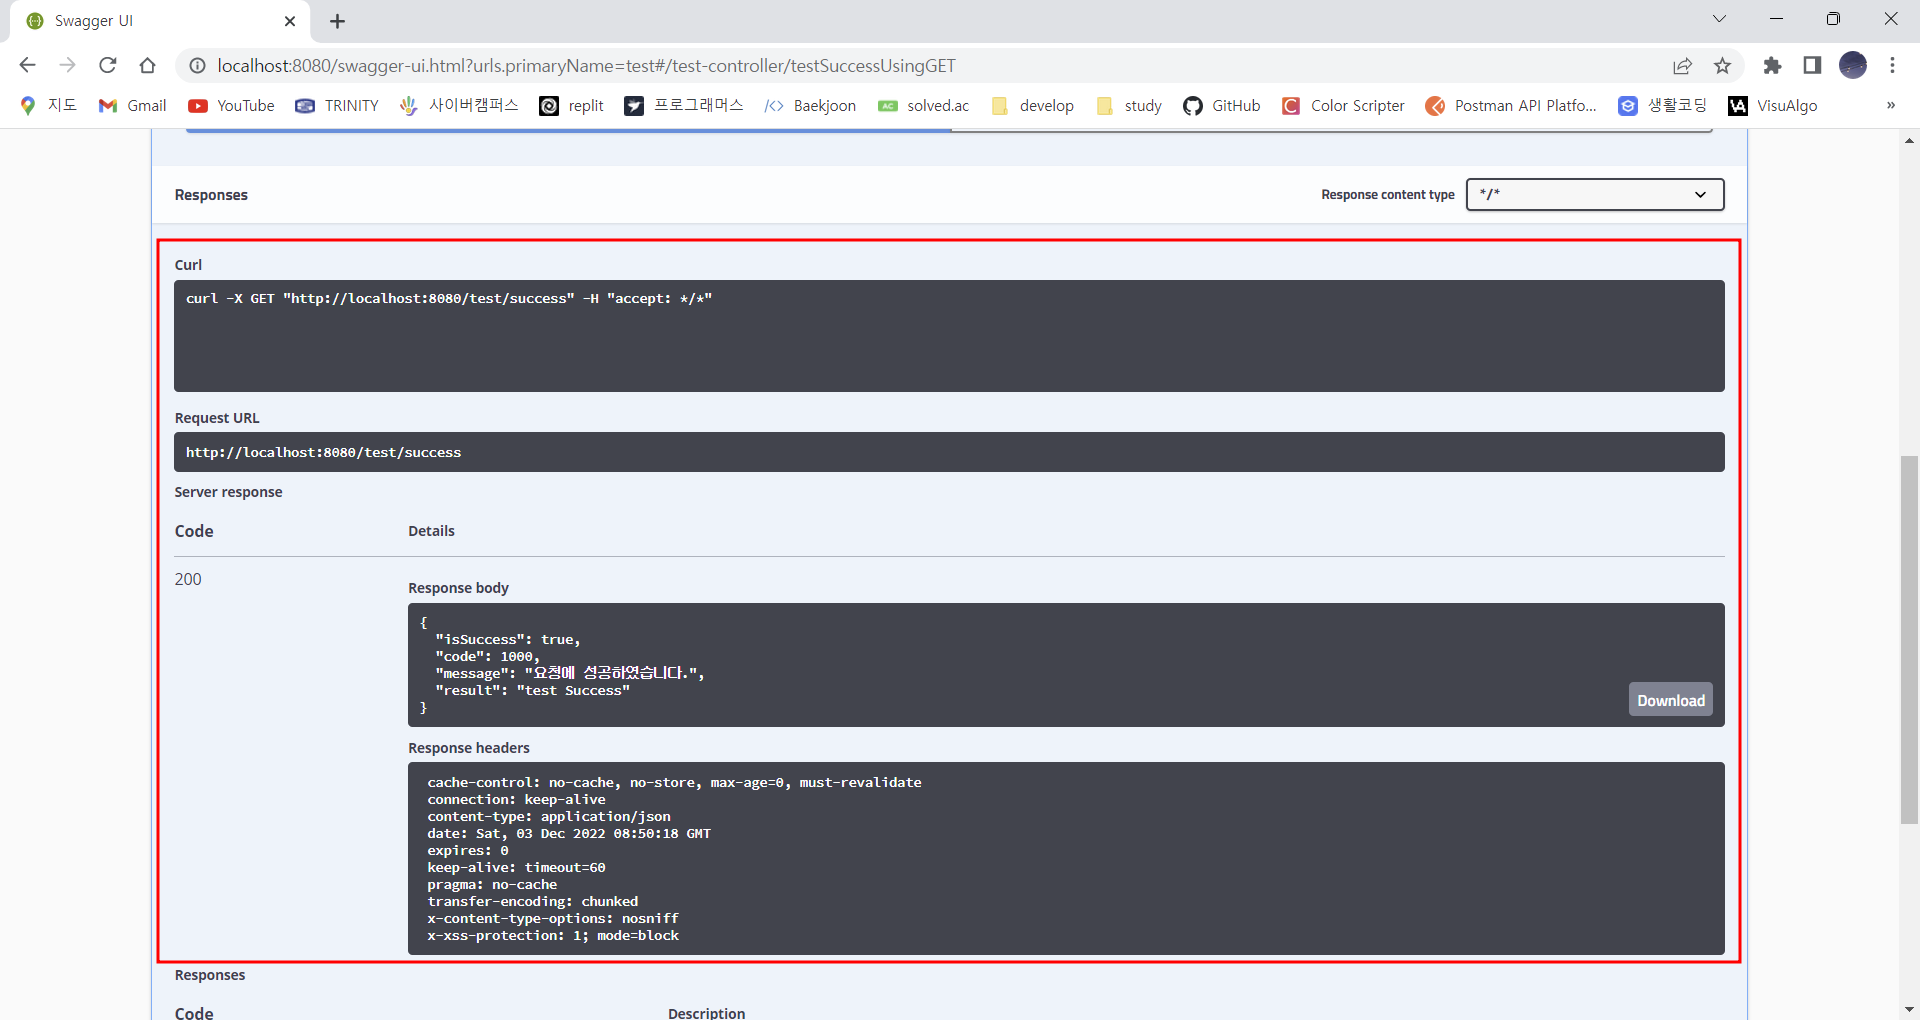
서버를 실행하고 http://localhost:[포트번호]/swagger-ui.html에 접속하면
728x90
반응형
'🔻Download, Tool' 카테고리의 다른 글
| [Tool] MobaXterm 모바엑스텀 설치 및 세팅 (0) | 2022.12.23 |
|---|---|
| [Tool] Swagger(API 문서 자동화) 3.0.0 + Authorize 버튼 (2) | 2022.12.21 |
| [Tool] Postman GET, POST, PATCH 사용하기 (0) | 2022.11.03 |
| [Tool] Postman 설치 및 사용법 (0) | 2022.11.02 |
| [Tool] SQL Fiddle (0) | 2022.10.22 |
❗build.gradle에 swagger 설정 추가
implementation 'io.springfox:springfox-swagger2:2.9.2'
implementation 'io.springfox:springfox-swagger-ui:2.9.2'
❗SwaggerConfig 작성
SwaggerConfig라는 설정클래스를 만들고 아래처럼 적어주면 된다
@Configuration
@EnableSwagger2
public class SwaggerConfig {

    @Bean
    public Docket apiV1() {
        return new Docket(DocumentationType.SWAGGER_2)
                .useDefaultResponseMessages(false)
                .groupName("[그룹이름]")
                .select()
                .apis(RequestHandlerSelectors.any())
                .paths(PathSelectors.ant("/[requestMapping한 주소]/**")).build();
    }

}
❗서버 실행
서버를 실행하고 http://localhost:[포트번호]/swagger-ui.html에 접속하면
728x90
반응형
'🔻Download, Tool' 카테고리의 다른 글
| [Tool] MobaXterm 모바엑스텀 설치 및 세팅 (0) | 2022.12.23 |
|---|---|
| [Tool] Swagger(API 문서 자동화) 3.0.0 + Authorize 버튼 (2) | 2022.12.21 |
| [Tool] Postman GET, POST, PATCH 사용하기 (0) | 2022.11.03 |
| [Tool] Postman 설치 및 사용법 (0) | 2022.11.02 |
| [Tool] SQL Fiddle (0) | 2022.10.22 |