[Tool] Swagger(API 문서 자동화) 3.0.0 + Authorize 버튼
❗build.gradle에 swagger 설정 추가

implementation "io.springfox:springfox-swagger2:3.0.0"
implementation "io.springfox:springfox-swagger-ui:3.0.0"
implementation "io.springfox:springfox-spring-web:3.0.0"
implementation "io.springfox:springfox-oas:3.0.0"
implementation "io.swagger:swagger-annotations:1.5.21"
implementation "io.swagger:swagger-models:1.5.21"
❗SwaggerConfig 작성
✏️SwaggerConfig 클래스를 만들고 아래의 어노테이션을 추가해주면 된다
@Configuration
@EnableSwagger2
public class SwaggerConfig {

}
✏️클래스 안에 아래의 코드를 작성하면 이제 swagger화면을 띄울 수 있다!
@Bean
public Docket api() {
    return new Docket(DocumentationType.OAS_30)
            .securityContexts(Arrays.asList(securityContext())) // 추가
            .securitySchemes(Arrays.asList(apiKey())) // 추가
            .select()
            .apis(RequestHandlerSelectors.withClassAnnotation(RestController.class))
            .paths(PathSelectors.any())
            .build().apiInfo(apiInfo());
}
3.0.0 버전은 http://localhost:8080/swagger-ui/index.html#/ 이 링크로 접속하면 API 문서를 볼 수 있다
✏️이 부분은 선택사항으로 어떤 API 문서인지 표시해주기 위해 사용해준다
private ApiInfo apiInfo() {
    String description = [원하는 문자열];
    return new ApiInfoBuilder()
            .title([API 문서 제목])
            .description(description)
            .version("1.0")
            .build();
}
❗SwaggerConfig에 Authorize 버튼 생성하기
JWT를 이용해 로그인을 구현하고자 할 때 인가가 필요한 api에 접근할 때, 매번 요청 해더에 jwt값을 넣어주어야 한다
이런 번거로움을 해결하기 위해 해당 기능을 사용할 수 있다
✏️인가 버튼 생성하기
private SecurityContext securityContext() {
    return SecurityContext.builder()
            .securityReferences(defaultAuth())
            .build();
}


private List<SecurityReference> defaultAuth() {
    AuthorizationScope authorizationScope = new AuthorizationScope("global", "accessEverything");
    AuthorizationScope[] authorizationScopes = new AuthorizationScope[1];
    authorizationScopes[0] = authorizationScope;
    return Arrays.asList(new SecurityReference("Authorization", authorizationScopes));
}


private ApiKey apiKey() {
    return new ApiKey("Authorization", "Bearer", "header");
}
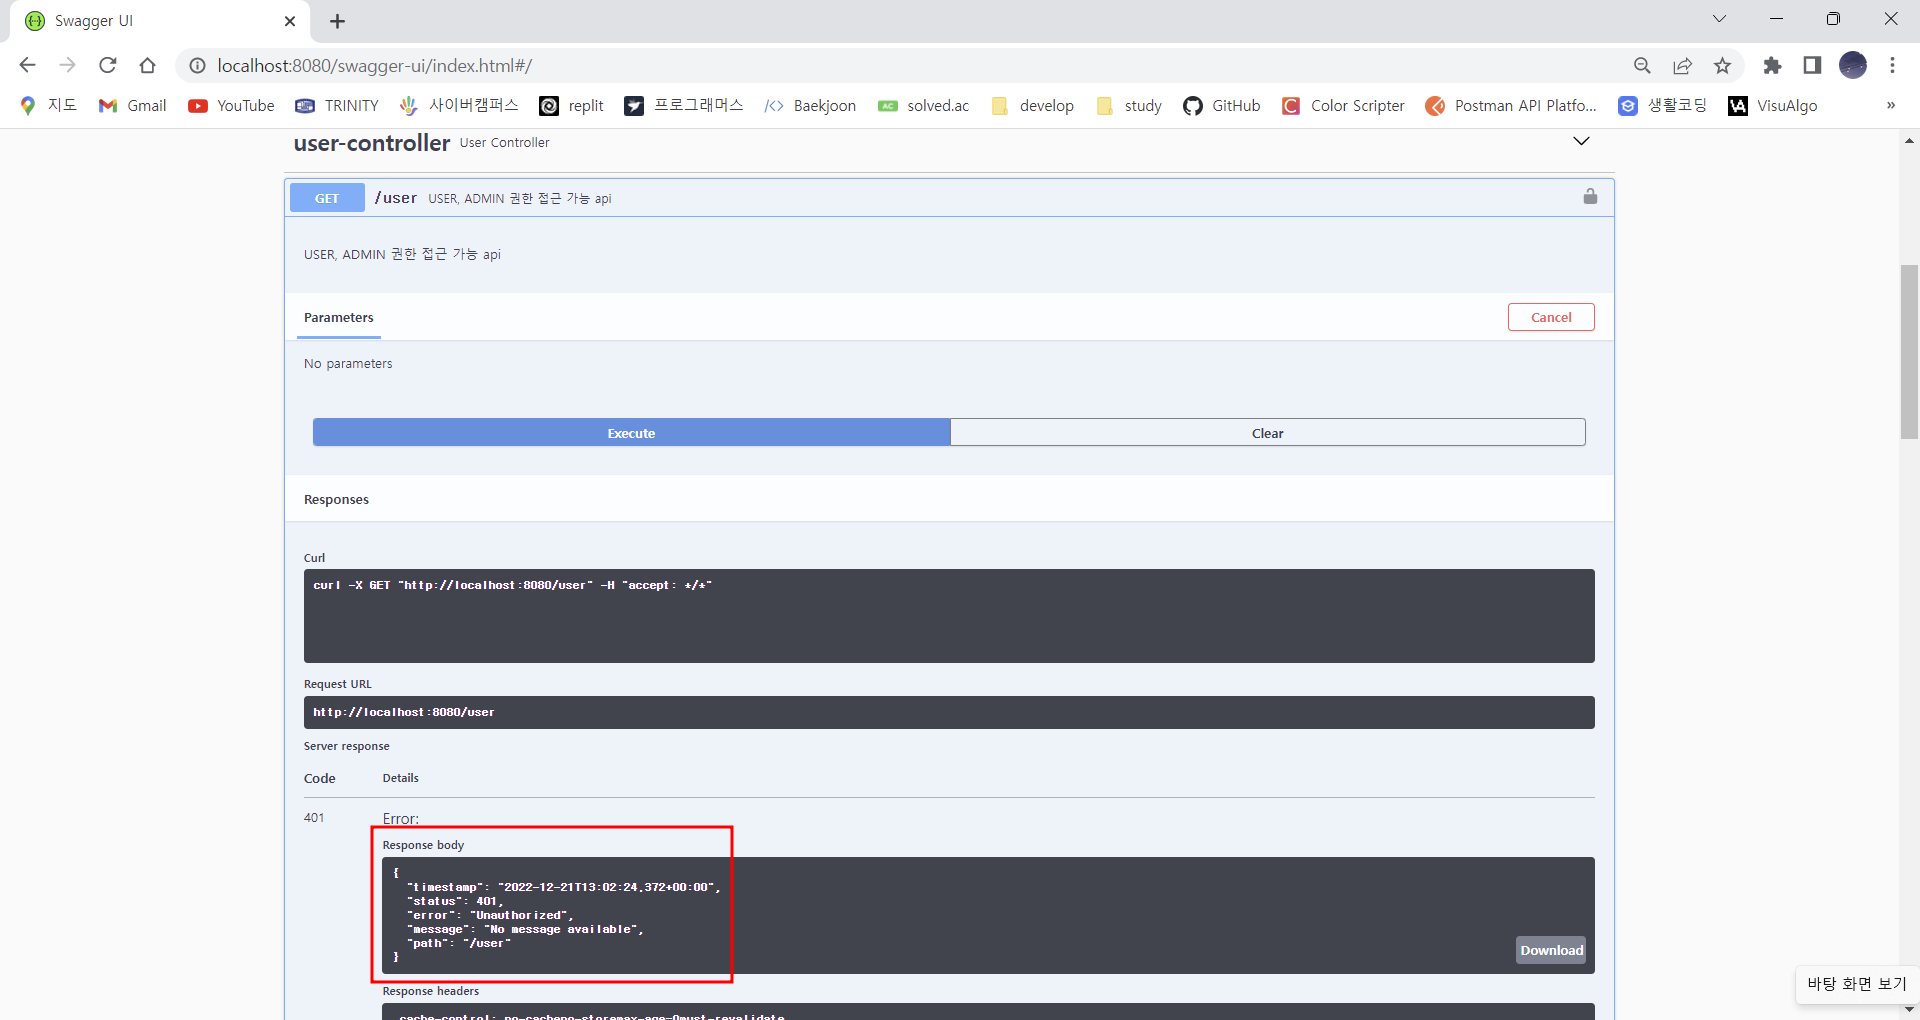
오른쪽 중간에 버튼이 생기고 api 옆엔 채워지지 않은 자물쇠가 표시되어 있다

❗SwaggerConfig에 Authorize 버튼 이용하기
먼저 로그인 api를 이용해서 jwt토큰을 발급받고, 그 토큰을 Value에 입력해주는 과정을 거치면 된다
✏️로그인하기

✏️Authorize 버튼 이용하기
위의 로그인을 통해 발급받은 토큰을 복사하고 Authorize 버튼을 누른다
그 후 "Bearer "를 앞에 먼저 쓴 후 복사한 토큰을 이어 붙인 후 Authorize 누르면 된다(공백도 빼뜨리지 말고 꼭 넣기)


✏️주의 사항
-postman에서 사용할 땐, Bearer Token으로 타입을 설정 후 발급 받은 토큰을 붙여주면 됐었는데
swagger에서는 꼭 "Bearer "를 쓴 후 이어붙여주어야 postman에서의 기능과 같게 사용할 수 있다
-"Bearer "에서 공백을 빼뜨리면 안 된다
-토큰의 만료시간이 지나면 Authorize에서 다시 인증을 해야 한다